Setting up the Auction event
Setting up the eAuction Event
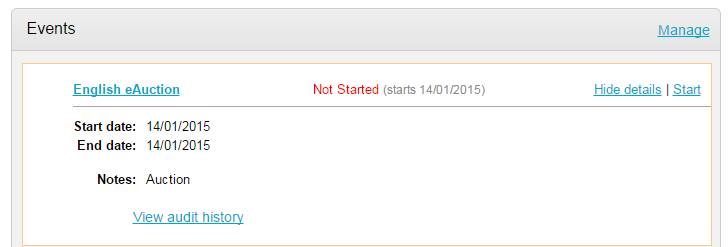
Open the auction event you wish to populate by clicking Start. When an event is opened, you will be taken to the auction creation wizard.
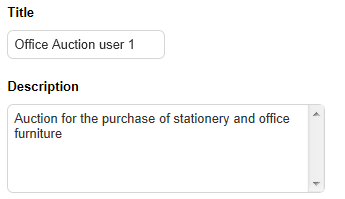
The first step is to set the auction details. Add the title and description for the Auction.
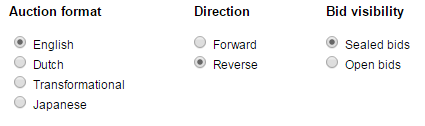
It is also at this point that the auction format, direction and bid visibility is set. In this guide we will be setting up an English Reverse auction with Sealed Bids. This auction, however, can be set as forward or reverse and with sealed or open bids. There are also different Auction formats which are covered in a separate guide.
Select the relevant options using the radio buttons.
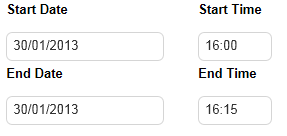
Enter the start and end date and time of the auction.
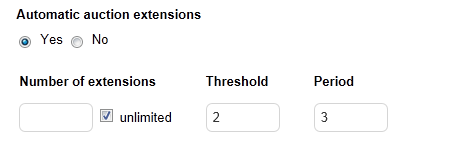
If you would like this auction to extend automatically, mark ‘Yes’ for Automatic auction extensions and add in how many extensions there will be/tick the unlimited box. Add the threshold and period in minutes (if a bid is placed in the last ‘x’ minutes (threshold) the auction will extend by the period.)
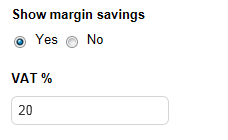
Select ‘Yes’ to show margin savings if required, and add the VAT %. The auction will take this into account when bids are placed.
Click Continue to move to the next part of the Auction set up wizard.
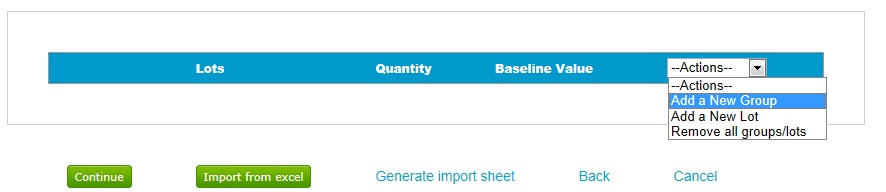
Now, groups and lots can be added to the auction. If you need to add a group, select Add a new group from the actions drop down.
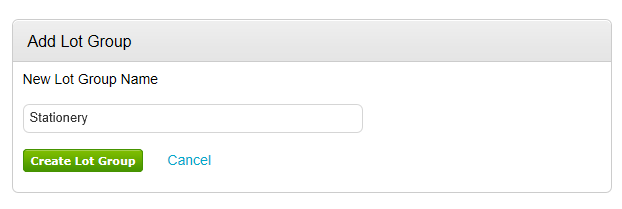
Add the group title of the new lot group and click Create Lot Group
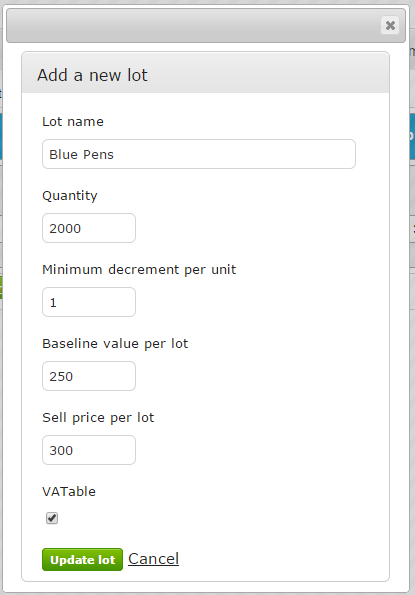
Now add a lot to the group as shown below

Give the lot a Name, Quantity, Decrement, Baseline Value (if required) and Sell Price (if required). If this lot has VAT applied to it, ensure that the ‘VATable’ option is ticked.
All lots for this group would now be added. New lots that are not part of a group can also be added.
Note: As an alternative to adding in groups / lots manually you can use the ‘Generate Import Sheet’ link and populate this information in the form of an Excel spread sheet. Then simply save this document to your PC before utilising the ‘Import from excel’ option. Using this method means that import sheets can be reused again for future eAuctions if required.
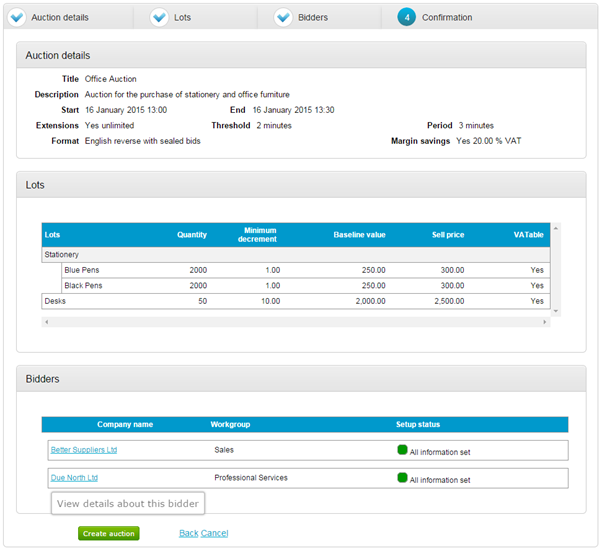
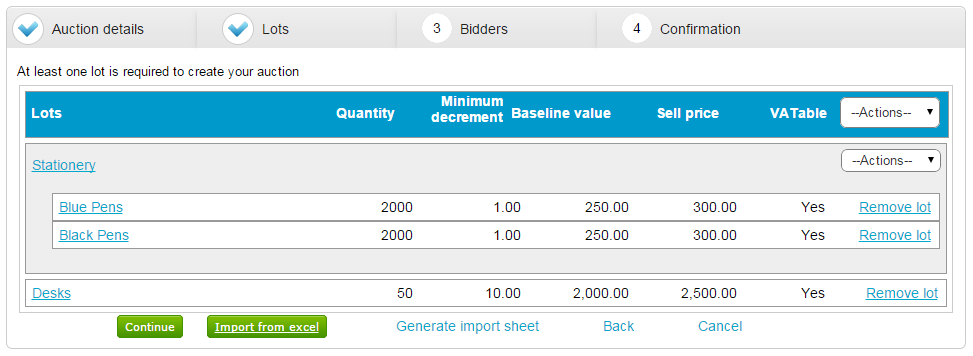
Once all groups / lots have been set up click ‘Continue’, your screen should now look the one shown below.
Adding Suppliers/Bidders to the Auction
Now we need to add our chosen suppliers to the auction, to do this click on Add Bidder.

The following screen is now displayed where suppliers can be searched for using the ‘Supplier search’ function. In this example we are going to add two of the suppliers already displayed.
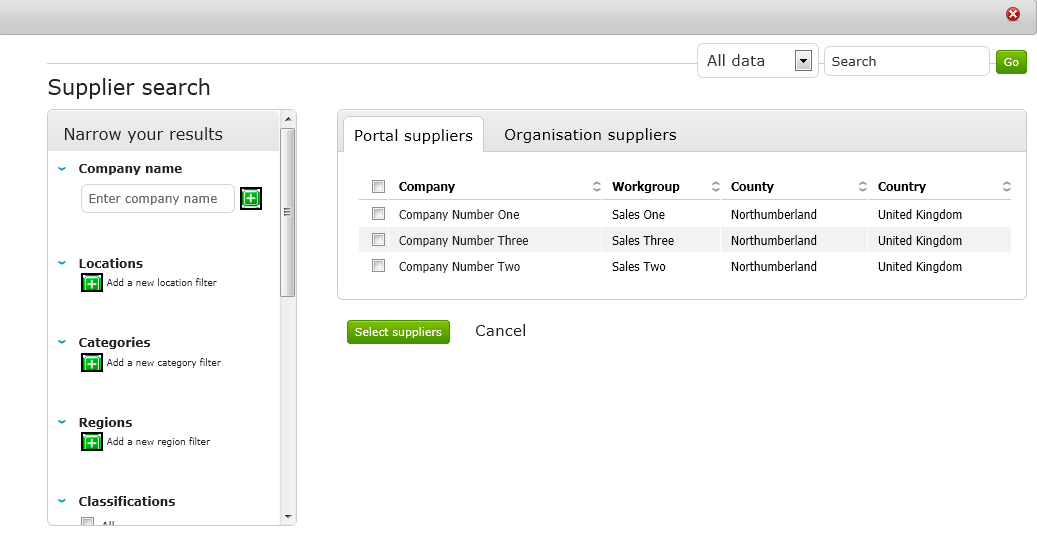
To do this check the box next to company number one and company number three, then click Select Suppliers.
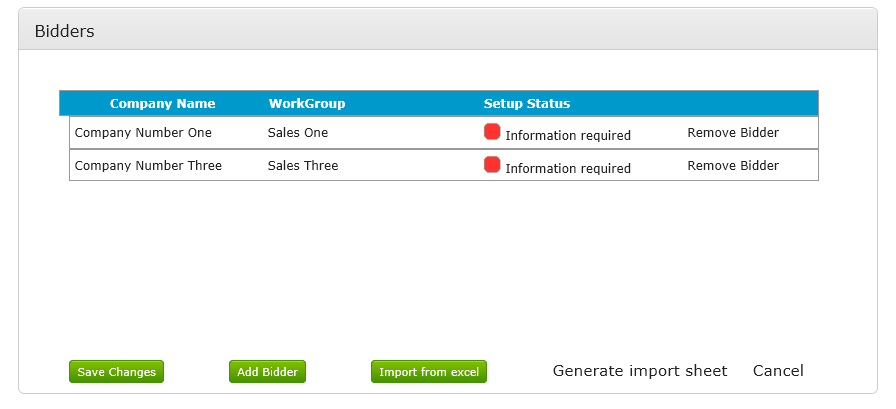
The screen below is now displayed where you can see the ‘Information required’ text within the ‘Setup Status’ field. To populate this information click on the ‘Information required’ link for the relevant supplier.
The following screen allows you to add any supplier / bidder specific information which may include maximum start bid, proxy start bid (in the event that a supplier does not intend to take part in the eAuction), Freight cost, Duty Added %, Margin Slippage%, Commission and any other costs. There is also a check box option to ask suppliers to populate this information themselves if preferred.
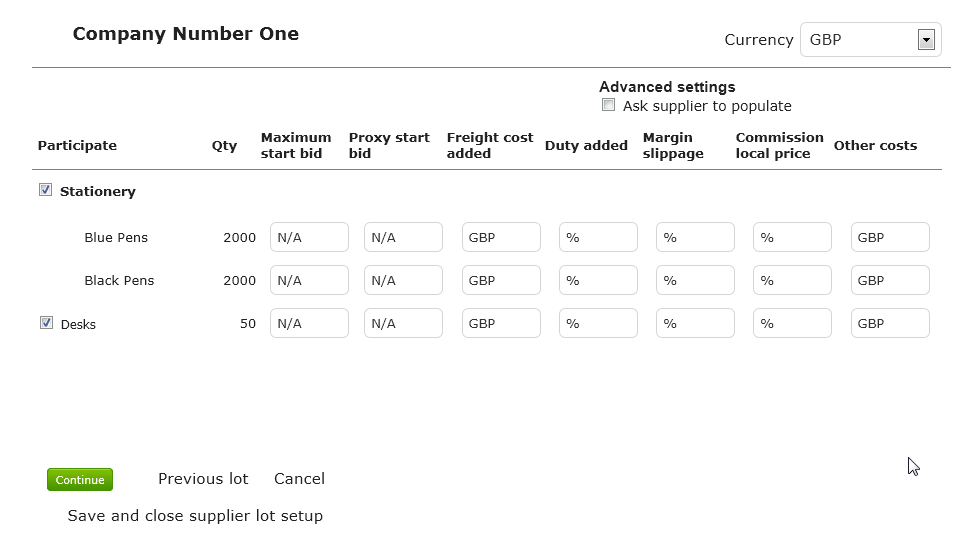
Once all information has been set click Continue to populate the next supplier / bidder specific information. Then click ‘Save and close supplier lot setup’. You should now have a green square next to the text ‘All information set’, now click ‘Continue’.
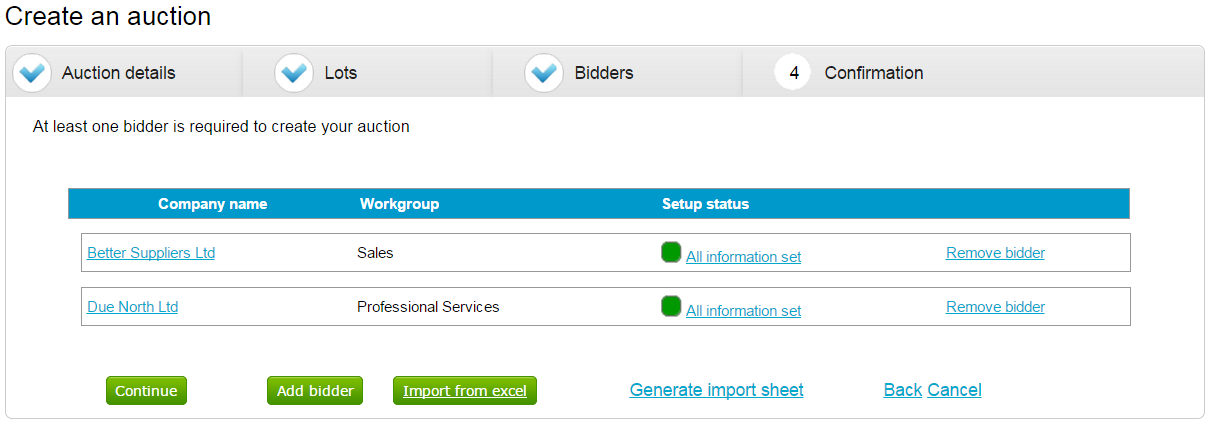
This will bring up a final confirmation page. Click ‘Create Auction’.