Setting the Auction Project detail
Setting the Auction Project Detail
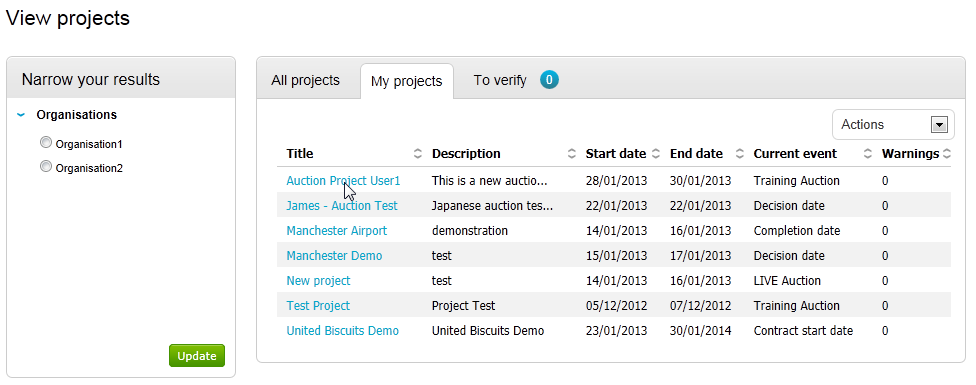
Any project that you have created will be shown in the View Projects > My Projects area within the Projects drop down on the home page.
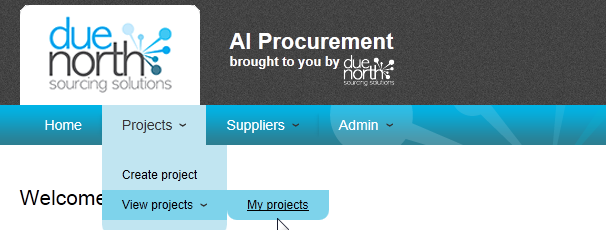
Select My Projects and click on the name (shown in blue) of the project that has previously been created.
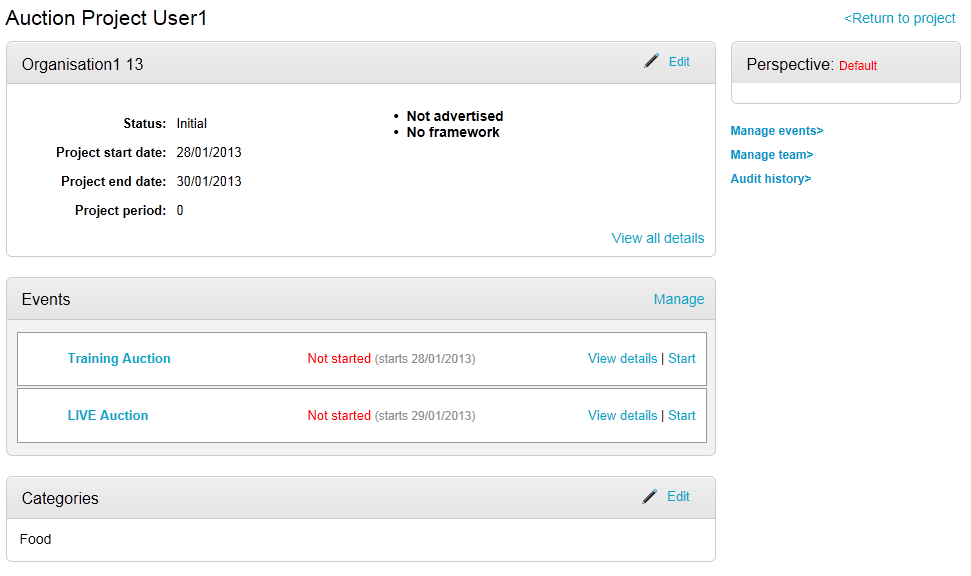
This will take you to the project dashboard. It is here where the main set-up of the project takes place. This is also the screen that you are taken to immediately after creating a project within the system, so in effect you only need to access a project as previously outlined in the last two steps if you are coming back to work on it after a period of time.
The main project detail can be populated by clicking the Edit option in the top right hand corner.
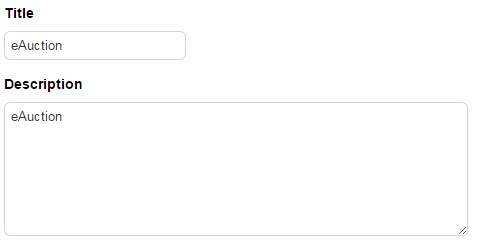
The project title and description (which is also used as the advert if advertised) can now be edited.
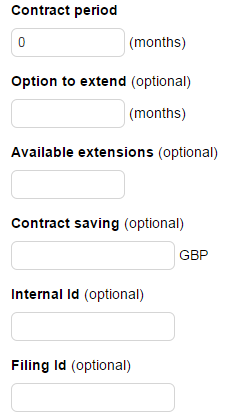
You can populate the contract period and option to extend/available extensions fields if applicable, as well as Contract Saving, Internal ID, and Filing ID if required.
Note: These fields are optional.
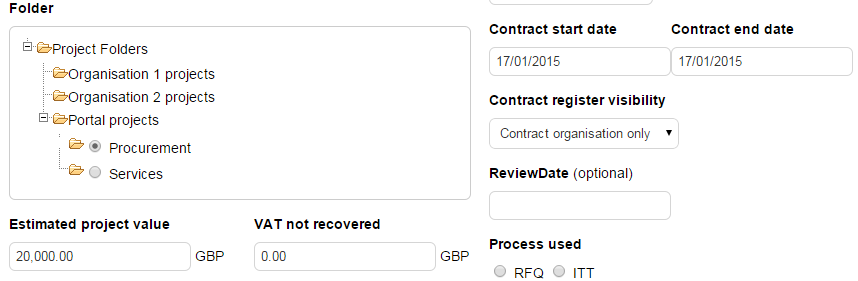
The Folder, Estimated Project Value, Contract Start Date, Contract End Date and Contract Register Visibility/Review Date (if you have the ProRegister module) can be edited.
Note: Contract End Date and Estimated Project Value are Mandatory fields.
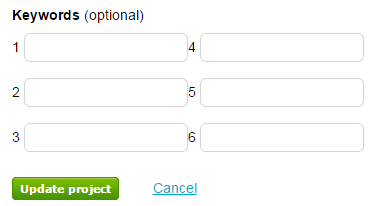
There is also an option to populate keywords; this area only requires populating if you intend to advertise the opportunity. Once all relevant information has been populated click Update Project.
Events can also be edited from this view by clicking on Manage in the events section as shown below. (This can also be accessed by clicking on Manage Events under the Project Control Panel.)
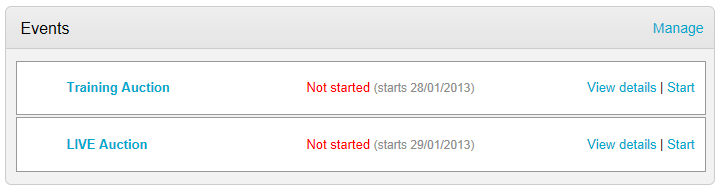
Events can now be edited, added or removed as outlined in the Creating an Auction Project guide.