Events
How to Create an Event
From the Configuration section, click on Events from within the Workflow area.
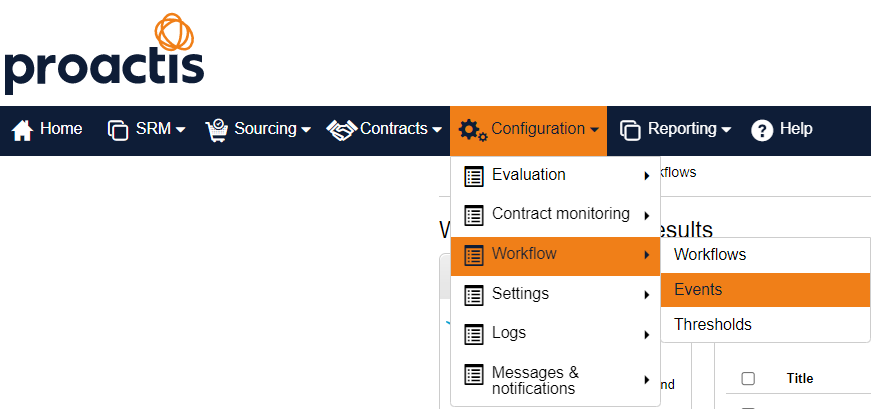
Click on the Create event button located at the top right hand corner of the screen. This will open the first section Event Details.
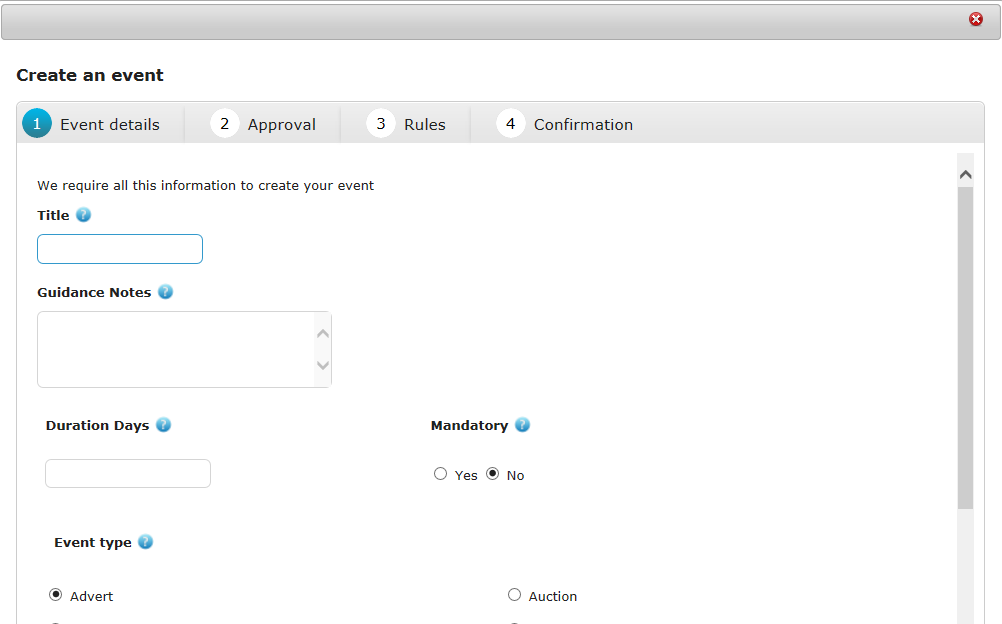
Enter the Title of the Event i.e Business Case, ITT or Decision etc
Enter any Guidance Notes that will aid the Procurement Team using the Event.
Add Duration Days (how many calendar days this event should take to complete)
Decide if this event should have Mandatory Closure before later steps can be opened and select whether this event requires Manager Approval Required prior to it being closed.
Now click on the relevant Event Type and select when it needs to be Completed in the process.
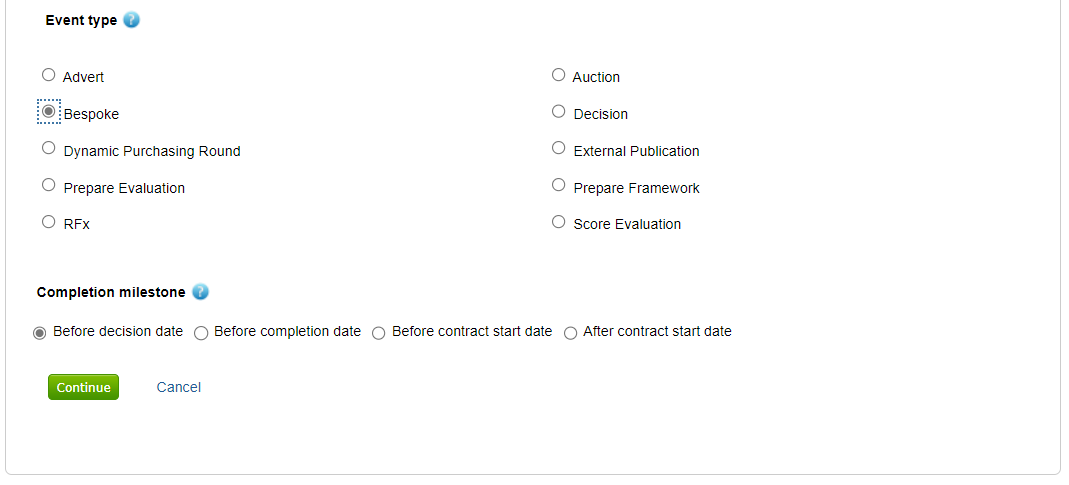
That completes the first section Event details, click on Continue to move on to the second section Approval .
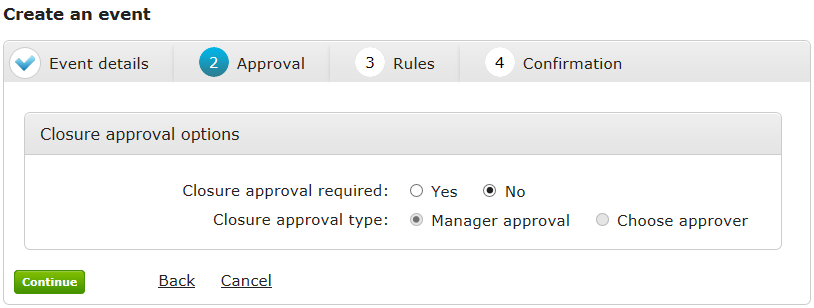
Add whether this event requires approval, and who will approve the event.
Click Continue.
Rules generate warnings in the form of visual alerts and emails which are activated at specific times throughout the lifetime of the Event i.e. before End date or after Start date.
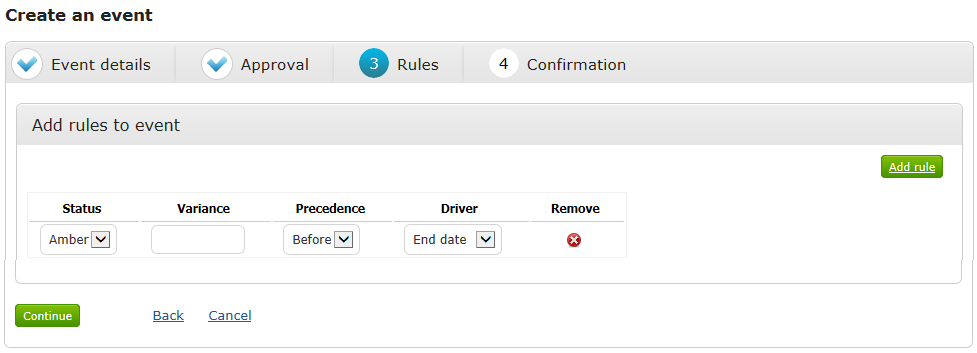
Set your Rules by selecting the Status, Variance and Precedence relevant to the Event. [If rules are not required you can skip this section by clicking on Continue].
Once complete click on Continue to move on to the final section Confirmation giving you a summary of the Event and its components.
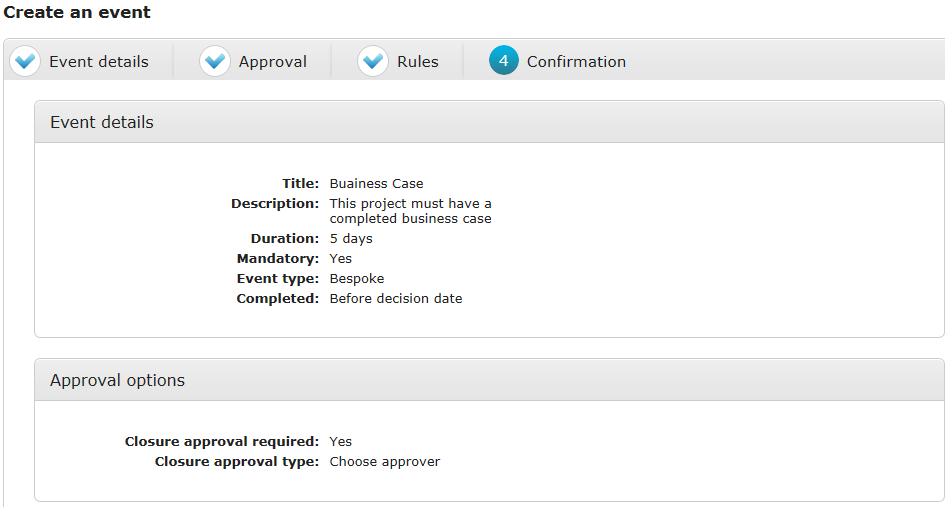
Click on Create Event to complete the process.