Managing the Document Library
The Document library can be used to store useful internal documents such as policies and procedures as well as storing documents that can be consistently used for procurement projects. When documents are uploaded it will date and time-stamp the upload.
Creating the Folder Structure
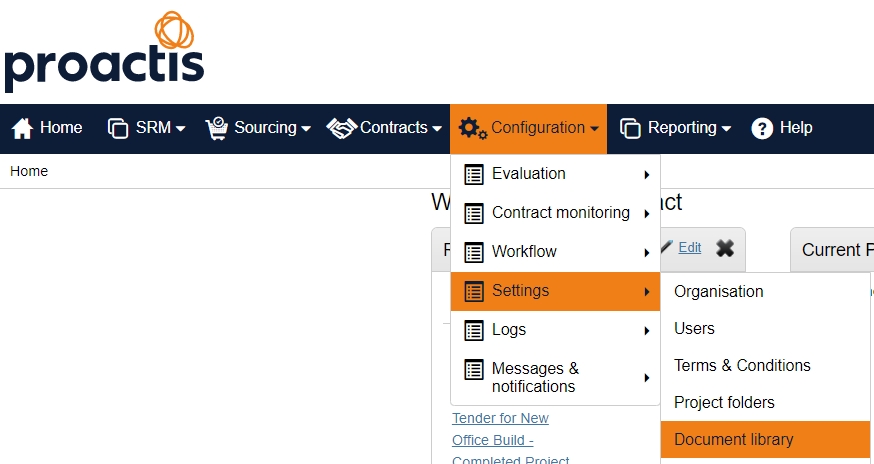
From the Configuration section, click on Document Library from within the Settings area.
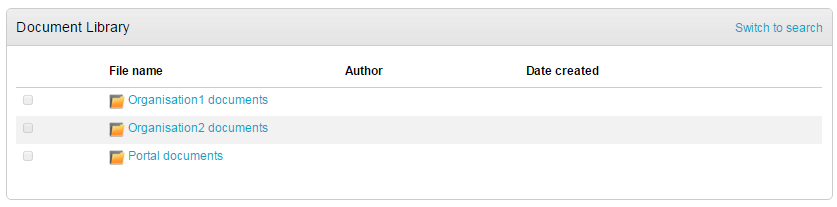
Click on your organisation folder to access it (the first time you access this area it will be empty).
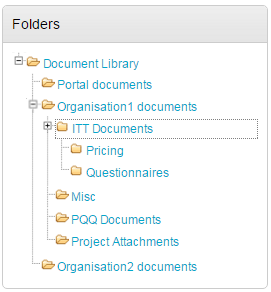
Click on New folder to build the folder structure. (Once a folder is created, this too can be opened and other folder built within them.)

This process is repeated until you have the desired folder structure set up.
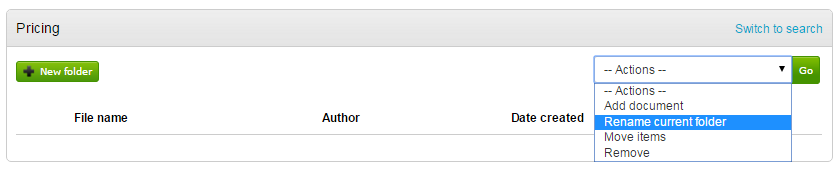
If a folder needs renamed or removed, this can be done using the Actions drop down within that folder.
Adding Documents to Folder
To add a document, open the relevant folder and from the Actions drop down select Add document.

Use the browse facility to navigate to and upload relevant documents to be available within this folder.
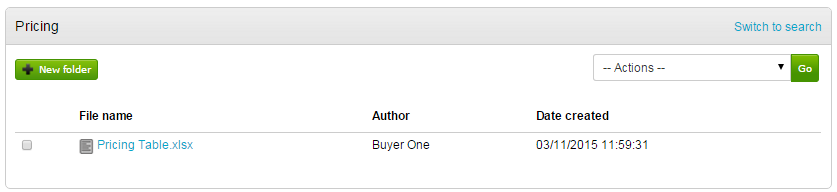
This will now be available within the document exchange area for users to select immediately.
Accessing the Document Library within a Project
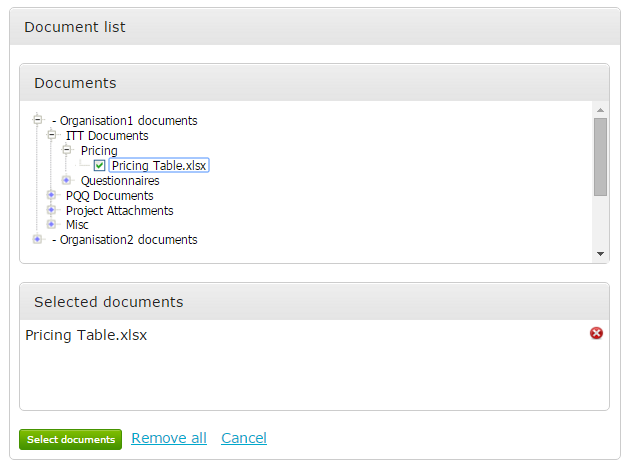
Whenever you access an attachment area within the system, you will have the option to visit your organisations Document Library by clicking Attach document from document library.
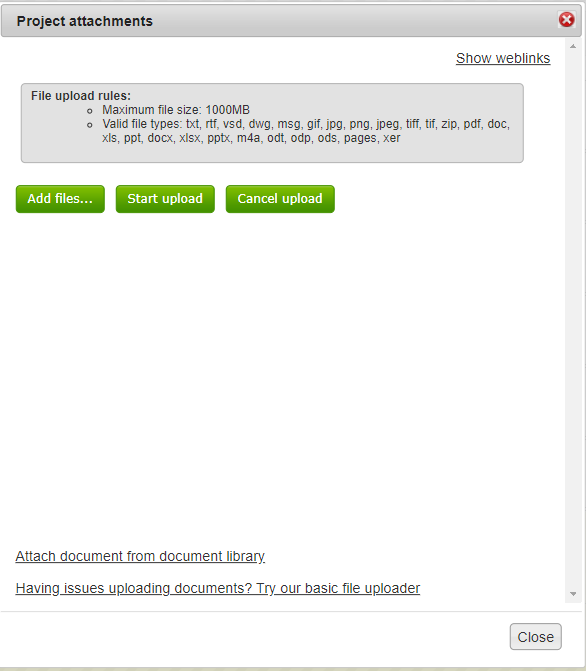
Using the folder structure, navigate to the relevant folder.

To add the attachments, simply tick the box of any you would like to use. They will be added to the Selected documents area when you tick the box. When all attachments are listed, click Select documents.