How to create Custom Fields
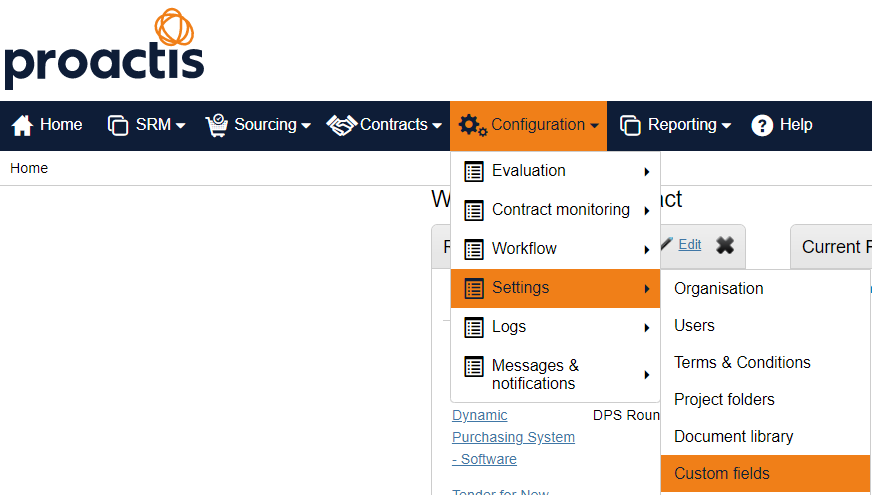
From the Configuration section, click on Custom Fields from within the Settings area.
Click on your organisation folder. Note that custom fields can either be added to Project (will be added to the project dashboard of any project) or Contracts Register (additional fields to be completed on the register entry).
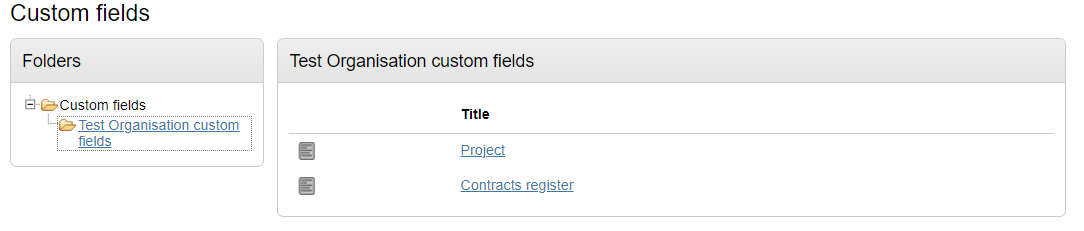
You can create custom fields for a project (will be added to the project dashboard) or the contracts register (additional fields for the register).
In this case we will click Project.
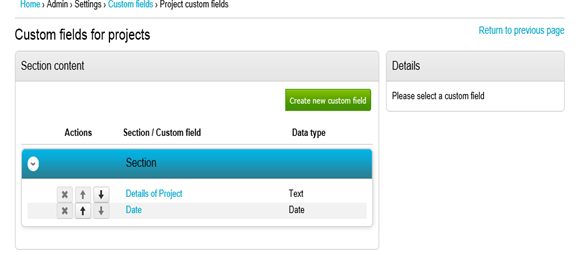
Click on Create new custom field
This opens the Custom field wizard which takes you through each step building the new field.
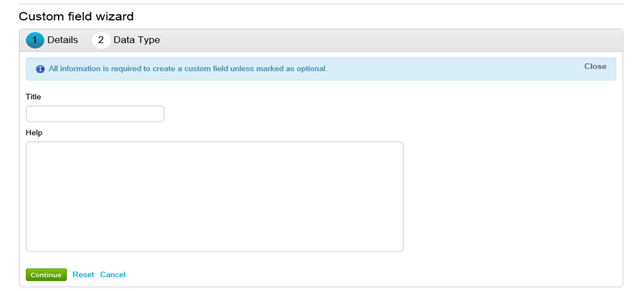
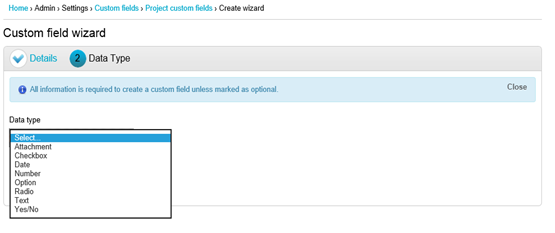
The next page allows you to select the data type from the pull down list. Click update next to the data type and then select if the question is mandatory. Click Continue to move onto the next page.
A full list of the Data Types and examples can be found in the Question Types and Scoring section.
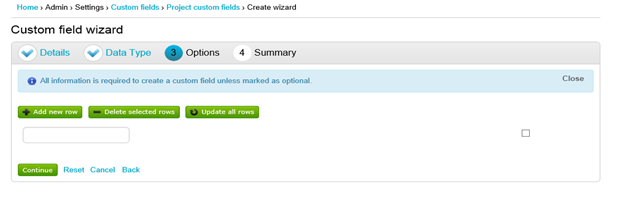
This screen will differ depending on the Data type. Option/Checkbox and Radio Data Types will produce this screen to allow you to enter the Options applicable to the question.
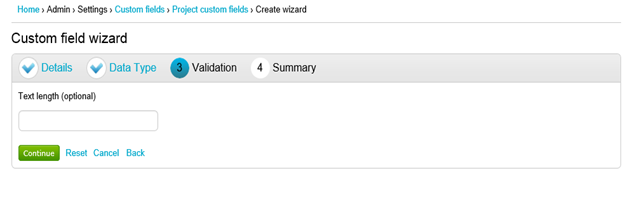
Text Data Type will produce this screen to allow you to enter the size of the text box in characters.
Date and Number Data Types will produce this screen allowing you to enter an optional date range
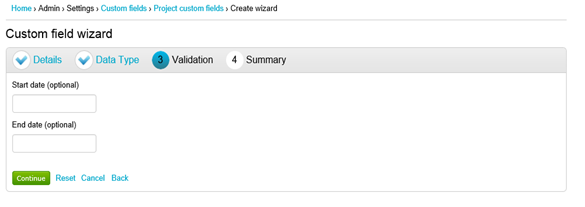
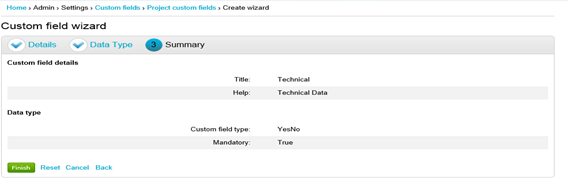
Click Continue to move onto the Summary Screen and then click Finish.
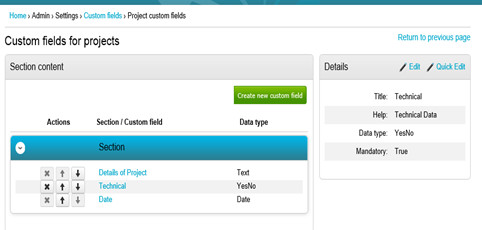
All the custom fields can now be viewed and will appear in the Project Dashboard under the Additional Information section.
To edit the custom field click on the blue field name and the edit box appears on the right hand side of the screen. Clicking Edit takes you through each page at a time and Quick Edit allows you to see all fields on one page with restricted editing.