Advertise a Tender Opportunity
Open the Place Advert event by clicking the Start link in the top right hand corner of the event.

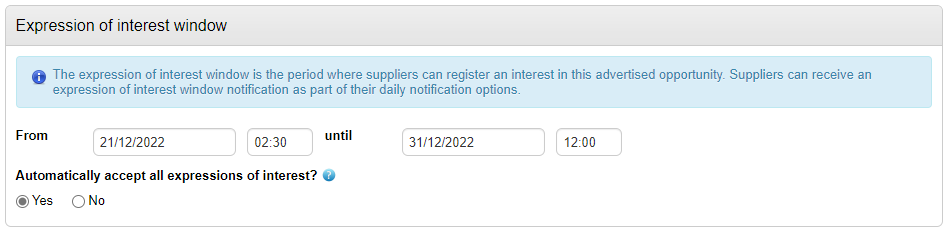
Parameters regarding the advert / expression of interest can now be set as required by clicking on the relevant date or time field for the start / end of the advert / expression of interest window.
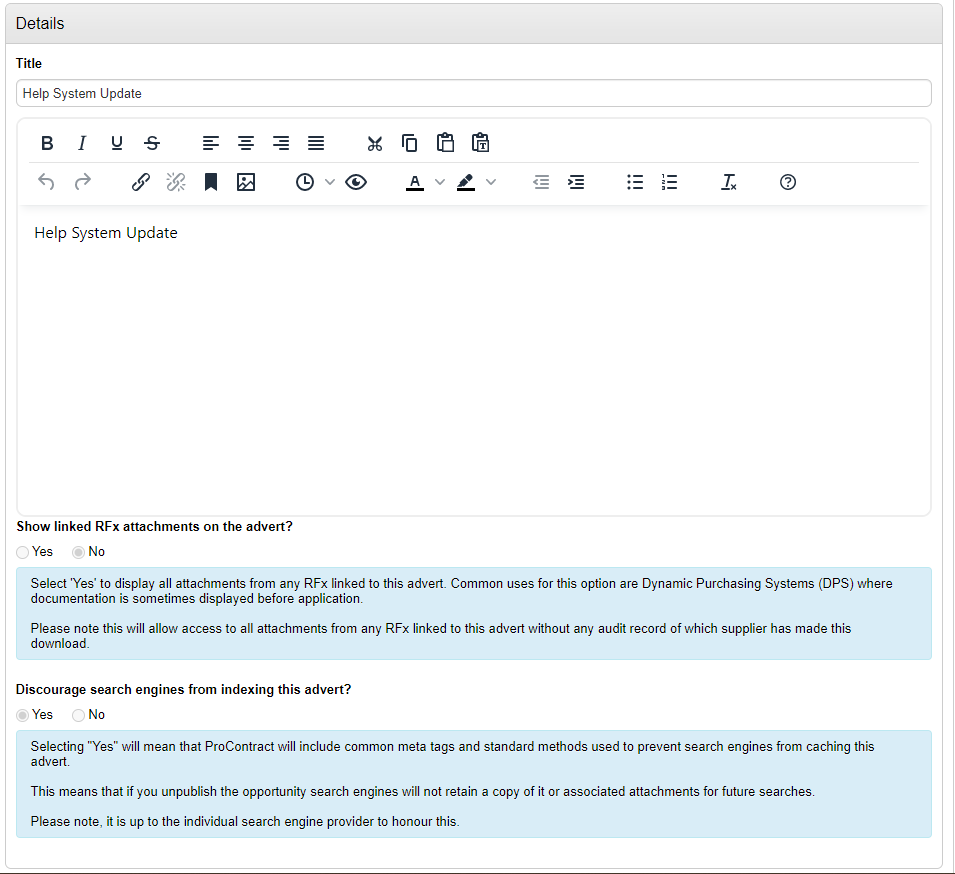
Click Edit to change the relevant details
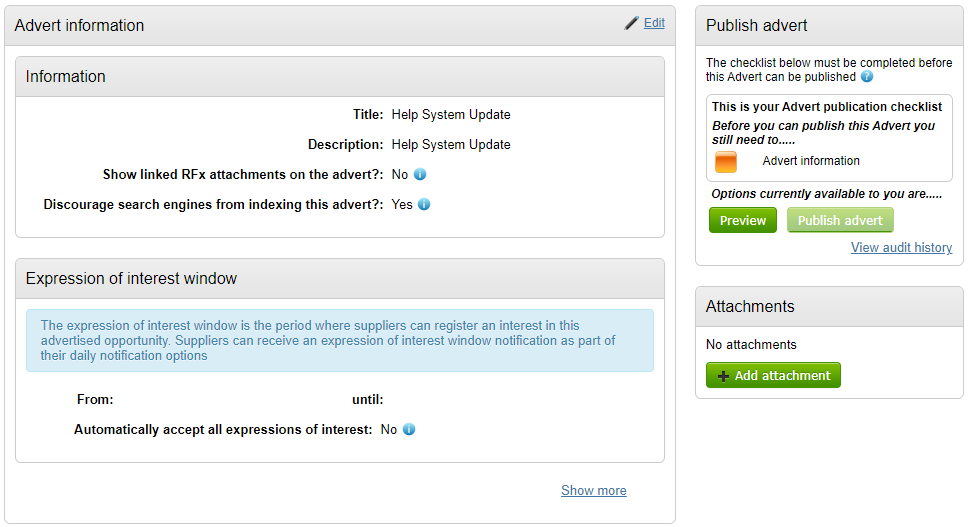
The title and description will be populated from the main project. These details can be changed if required. There is also the ability to review whether RFx attachments will be shown on the advert and whether search engines should be discouraged from indexing the advert. There is further information on these on the below screenshot / in system. NOTE: The Project Manager may have already pre-set these within the 'Control Panel Settings' area of the Project Dashboard, which is why it may be greyed out.
You can then set the from and until expression of interest window.
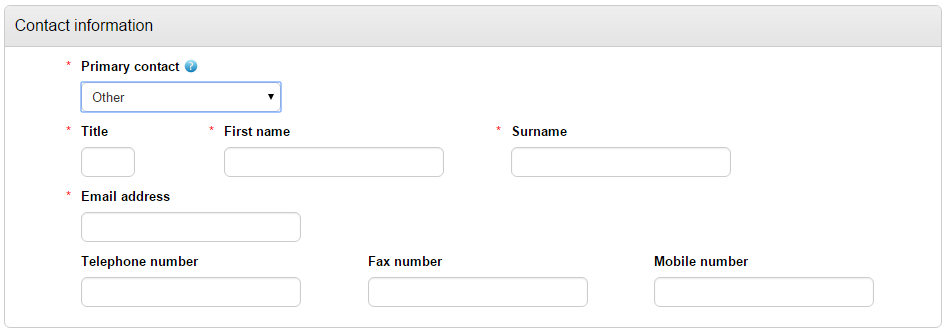
Once dates / times have been populated, the primary contact details can be tailored as required.
To change the primary contact details, select the relevant user from the drop down list available. any user allocated within the project team can be selected as the primary contact.

Selecting Other, will allow you to enter alternative details instead of the default user email address if required. (This would be in the instance that queries on the tender opportunity / advert should be directed back to a shared mail box for procurement for example).
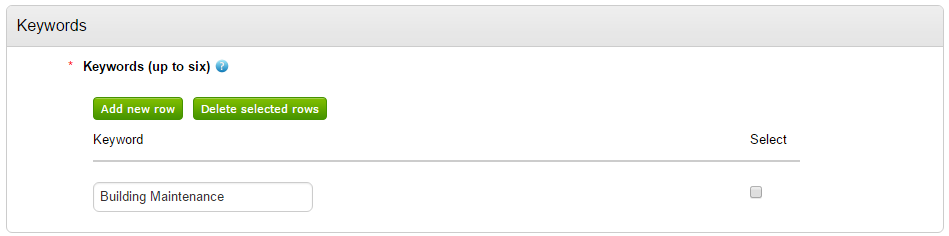
At least one keyword must be entered for the advert. Keywords can be used by suppliers to search for opportunities.
Once all parameters have been set click Update.
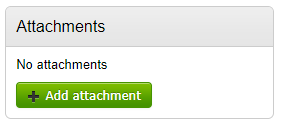
Public Attachments can also be added within the 'Attachments' area. (Anything added here will be visible publicly alongside the advert.)
The publication checklist RAG status should now turn green. You are now ready to publish the advert. You can of course preview the advert to review the details prior to publishing the advert.
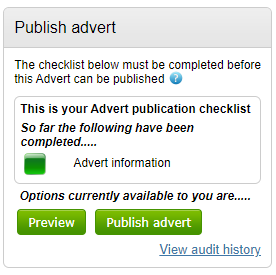
To publish the advert, click Publish advert.