Creating Library Questions
From the home page hover over the Configuration tab to display the functions accessible as Administrator only.

Click on the Library questions header to open the Library questions Section.
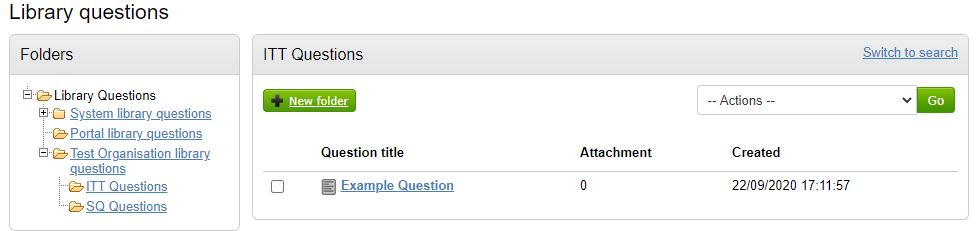
This is where all current Library folders and questions can be viewed and further ones can be added. Click on the New Folder button located at the top left hand corner of the screen (if required) [adding a sub folder works in the same way, make sure you click on the name of the folder first then add + New Folder]
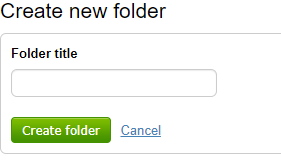
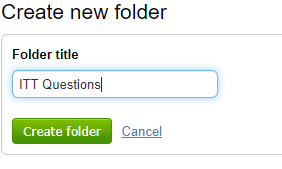
Now enter the Folder TITLE and click Create folder.
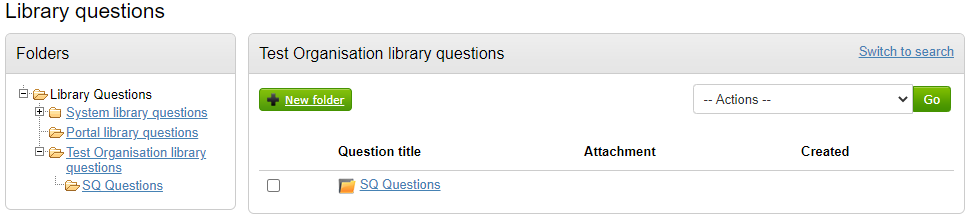
The new Folder is now ready to populate with questions or sub-folders. Click on the title to access the folder..

To add a Sub folder simply click on New Folder. To add questions to the folder click on the drop down menu in the Actions box on the right hand side of the screen. You can also rename the current folder name, or move/remove items (use selection boxes to left of questions/folders to select).
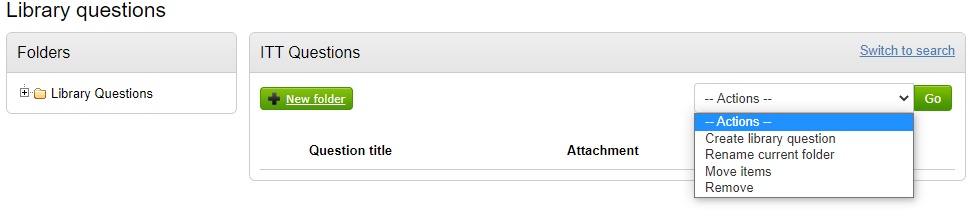
Click Create library question, click Go.
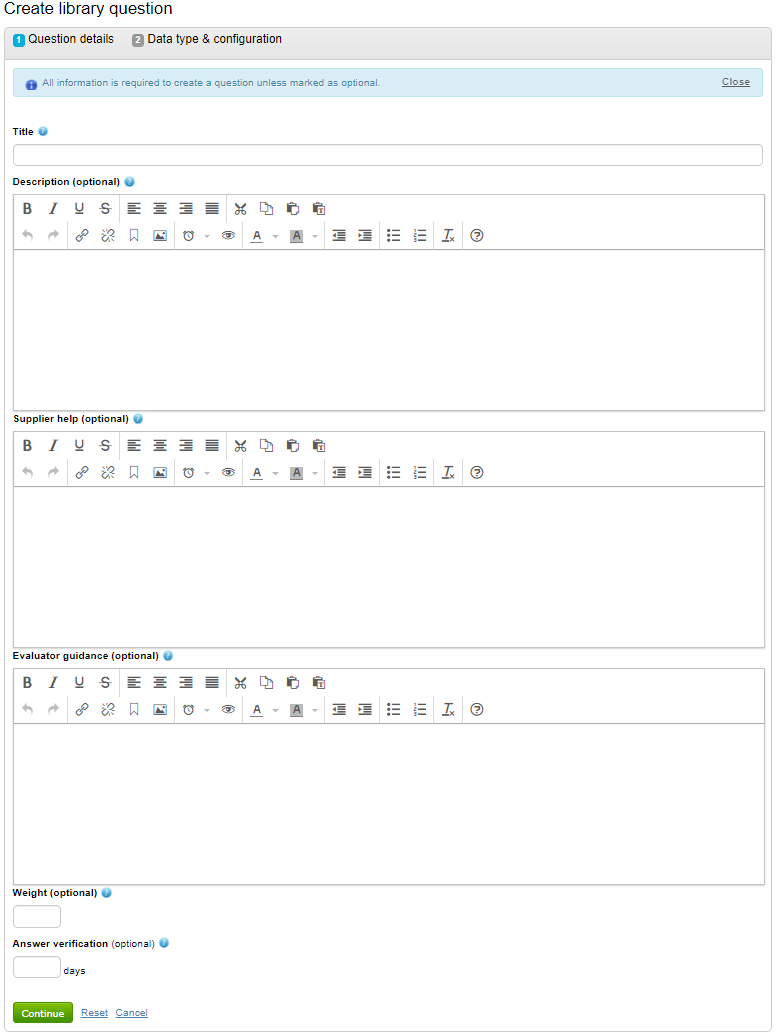
Enter the relevant question details;
Title : This is the question title. A summary of the question objectives can be added here, with greater detail added in the descritption field.
Description : Used to provide greater details of the questions overall objective.
Supplier Help : If this is a questionnaire question that suppliers will answer, additional help can be added here to aid the suppliers completion of the question.
Evaluator Guidance : Overall guidance to evaluators and evaluation managers on how to score this question can be added here. Suppliers will NOT be able to see this section.
Weight : The weighting to be applied to this question, in many cases this may be left blank at library question level as this will be determined in the specific project.
Answer Verification : The period that the answer provided by the supplier is valid for. After this period the answer will still be stored for future responses, but will need to be verified before submission. Leaving blank means that there is no maximum verification period.
Click Continue to move on to the next section, Data Type and Scoring
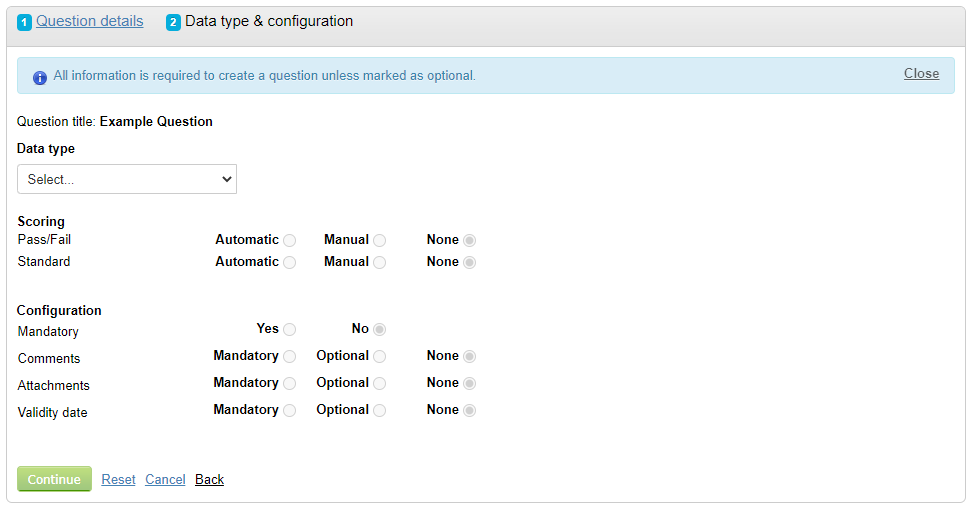
Select the Data Type from the drop down list, this is how you want the supplier to respond to the question.
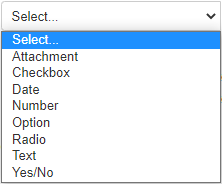
Attachment - This will enable the supplier to respond via attachment(s). This can be any type of attachment, as required.
Checkbox - This will allow the supplier to respond by selecting one or more options from a selection of checkboxes, which will be determined on the next screen.
Date - This will allow the supplier to respond by specifying a date. It is possible to restrict the date range on the next screen, if required.
Number – This will allow the supplier to respond by entering numbers and decimals only. It is possible to restrict the number range on the next screen, if required.
Option – This will allow the supplier to respond by selecting ONE choice only from a drop down box of different options, which will be determined on the next screen.
Radio – This will allow the supplier to respond by selecting ONE choice only from a list using a radio button (no drop down). The options will be determined on the next screen.
Text – This will allow the supplier to respond by entering text. It is possible to restrict the number of characters that can be entered on the next screen, if required.
Yes/No – This will allow the supplier to choose either Yes or No in their response. By choosing this data type the options are predefined and require no user input.
Next, select the Scoring method.
Pass/Fail questions are usually those questions which are mandatory for your procurement process, and would usually result in a supplier not progressing to the full standard scoring stage should they fail any of those questions.
Standard questions are weighted questions (e.g. quality, finances) which will be scored, to help you select the right supplier.

Automatic : The system will automatically score the question based on the parameters you set on the next screen and the responses provided. Text and Attachment type questions cannot be auto-scored (options will grey out).
Manual : The question will require manual scoring by an evaluator.
None : This question will not be scored using that scoring method. (So, if 'None' is selected for both scoring types this means the question is not scored in any way/for information only.)
You can now select the configuration options for the question.
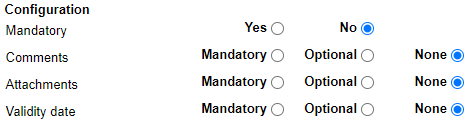
Mandatory : Select if the supplier must to answer this question in order to submit their response.
Comments : Select if the supplier can add additional comments to support the answer that they have provided. Comments can be made mandatory or left optional. This option will be greyed out when text has been selected as the question type.
Attachments : Select if the supplier can add additional attachments to support the answer that they have provided. Attachments can be made mandatory or left optional. This option will be greyed out when 'Attachment' has been selected as the question type.
Validity date : Does this answer expire? This can be used in the example of insurance, or certificates etc. Again, this can be made mandatory or optional.
Click Continue to move on to the next section, Scoring and Options
If the Data type selected is Checkbox, Option or Radio, you can now enter the options relevant to the question. To add a new option click Add new row.
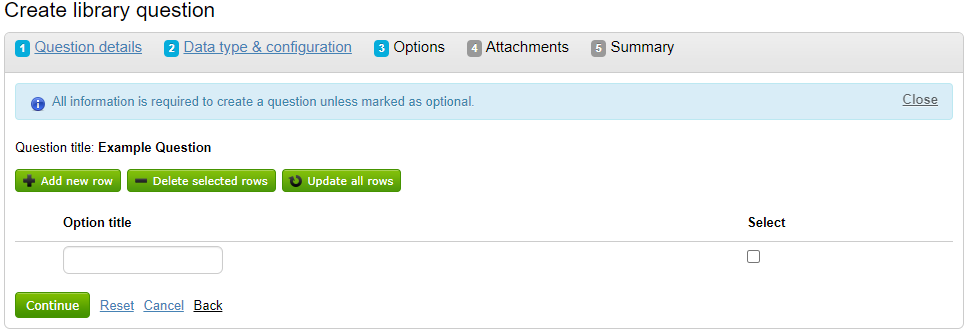
In the scenario when auto scoring is used, the system will allow you to specify which answers are Pass/Fail, what score they should carry, or both if both set as auto (like below).

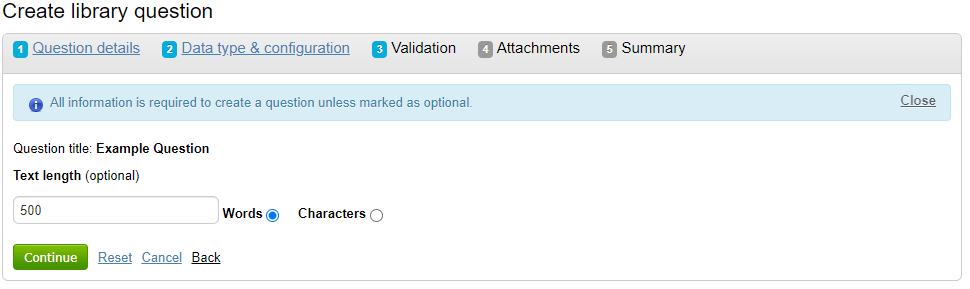
If the Data type selected is Text, Number or Date, you will also be asked to enter any validation (max text length, date/number ranges). This is optional (if no validation entered text length with be unlimited, and any number/date can be entered by the supplier).
When all the options have been added click Continue to move on to the next section, Attachments. Public attachments are visible to the responding suppliers and any relevant project memebers/evaluators. Private attachments are not shown to suppliers.
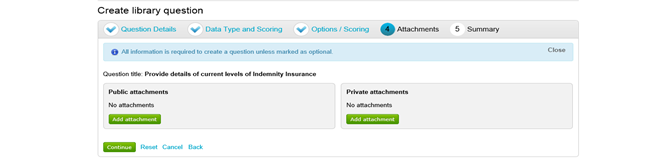
Click Add attachment, browse and navigate to through your own files and folders, Select the document and click Upload.
Click Continue to move on to the next section, Summary
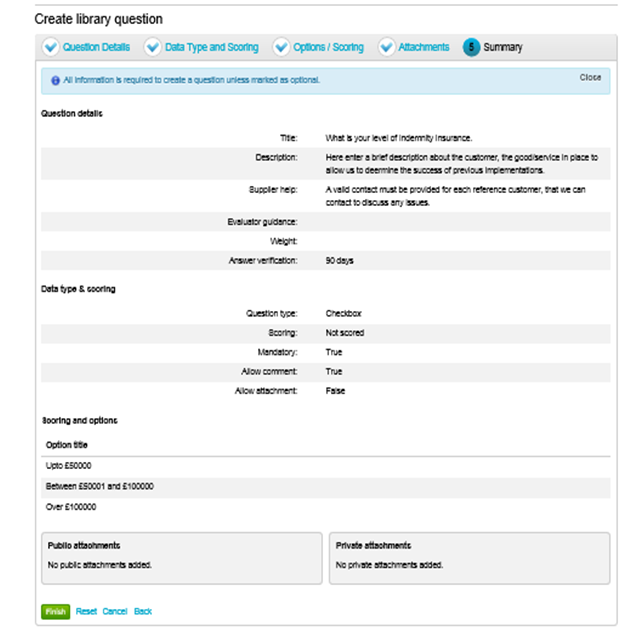
Click Finish to add the question to the Question Library.