How to Manage Library Questions
How to Manage Library Questions
From the home page hover over the Admin tab to display the functions accessible as Administrator only.
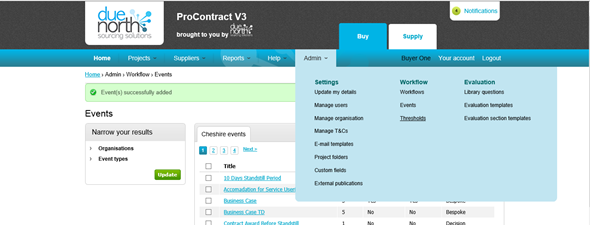
Click on the Library questions header to open the Library questions Section.
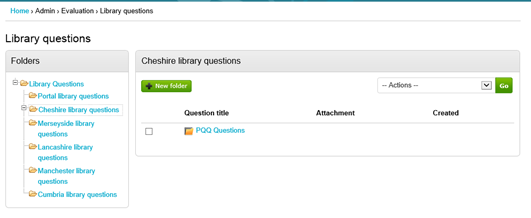
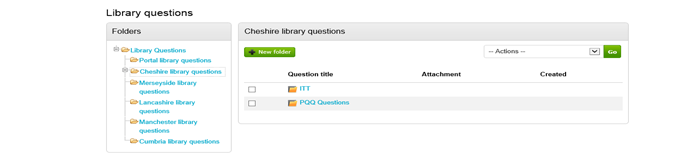
This is where all current Library questions can be viewed and further ones can be added. Click on the New Folder button located at the top left hand corner of the screen.
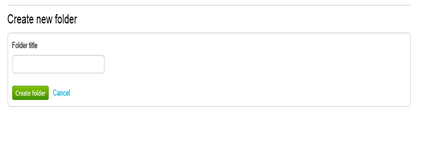
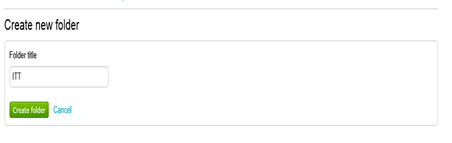
Now enter the Folder TITLE and click Create folder.
The new Folder is now ready to populate with questions.
To add a Sub folder simply click on New Folder and as per Point.4 above.
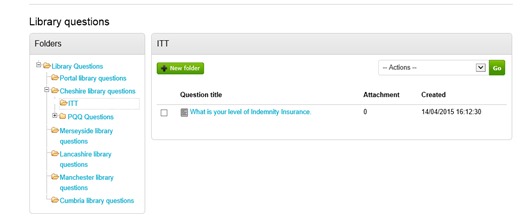
To add questions to the folder click on the folder Title to open the folder, click on the pull down arrow in the Actions box on the right hand side of the screen.
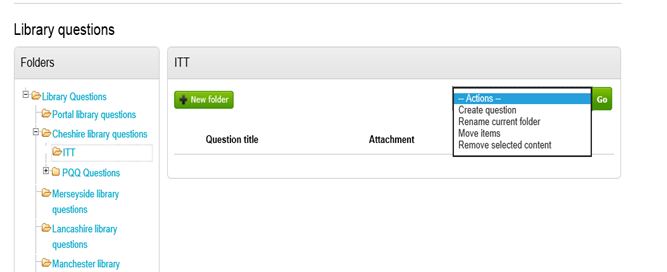
Click Create question, click GO
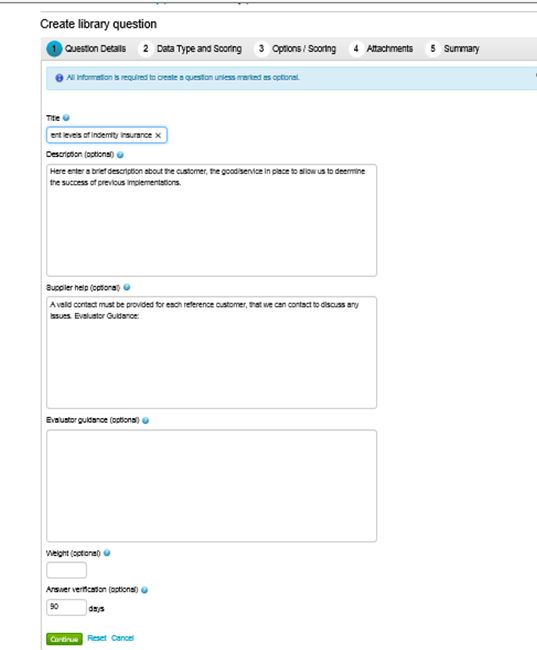
Enter the Title, then the optional fields Description, Supplier and Evaluator help.
Weight: The weighting to be applied to this question, in many cases this will be left blank as this will be determined by the specific project.
Answer Verification: The period that the answer provided by the supplier is valid for. After this period the answer will still be stored for future responses, but will need to be verified before submission. Blank means that there is no verification period.
Click Continue to move on to the next section, Data Type and Scoring
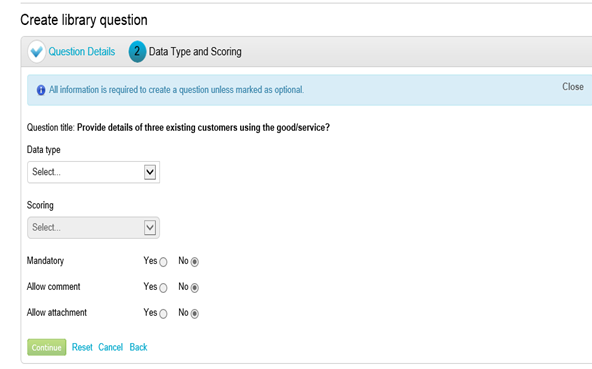
Select the Data Type from the drop down list, this is how you want the supplier to respond to the question.
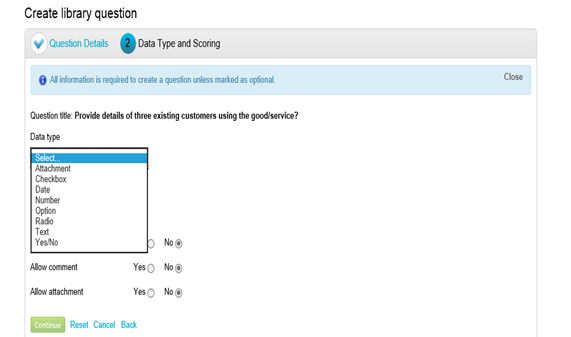
- Attachment -This will make the supplier respond by attaching at least one attachment. This can be any type of attachment, as required.
- Checkbox - This will make the supplier respond by selecting one or more options from a selection of checkboxes, which will be determined on the next screen.
- Date - This will make the supplier respond by specifying a date.
- Number – This will make the supplier respond by entering a number.
- Option – This will make the supplier select one option from a drop down list, which are determined on the next screen.
- Radio – This will make the supplier by highlighting a radio button from a list, which will be determined on the next screen.
- Text – This will make a supplier respond by entering text. It is possible to restrict the number of characters that can be entered on the next screen.
- Yes/No – This will make the supplier choose either Yes or No in their response. By choosing this data type the options are predefined and require no user input.
Select the Scoring method from the drop down list, this specifies the way that you want the question to be scored.

- Automatic (Pass/Fail & Manually Scored) – This scoring option will automatically Pass or Fail a suppliers response based upon the parameters you set and the response that they give. If they pass then you can then also manually assign them a score based on their response.
- Automatic (Pass/Fail & Scored) – This scoring option will automatically Pass or Fail the suppliers response based on the parameters that have been set and the response that has been given. If a supplier passes they will be automatically assigned a score based on the set-up of the question.
- Automatic (Pass/Fail) – This scoring option will automatically Pass or Fail a suppliers response based upon the parameters you set and the response that they have given.
- Automatic (Scored) – This scoring option will automatically score a suppliers response based upon the parameters you set and their response.
- Manual (Pass/Fail & Scored) – This scoring option allow require you to manually Pass or Fail the response that has been given and then if they pass, manually assign a score.
- Manual (Pass/Fail) – This scoring option will allow you to manually pass or fail a suppliers response.
- Manually Scored – The question will be scored manually by the evaluator and entered into the scorecard based on the response.
- Not Scored – This question will not be scored at all, it is just for information.
The next three options are selected by choosing Yes or No, by highlighting the relevant radio button
- Mandatory: Select if the supplier must to answer this question in order to submit their response.
- Allow Comment: Select if the supplier can add additional comments to the answer that they have given, which is useful for Yes/No responses where further information may be needed.
- Allow Attachment: Select if the supplier can add an attachment to the answer that they have given to the question. Note: This option cannot be set to “Yes” with the “Attachment” data type.
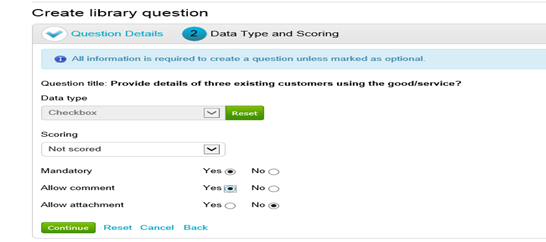
Click Continue to move on to the next section, Options/Scoring
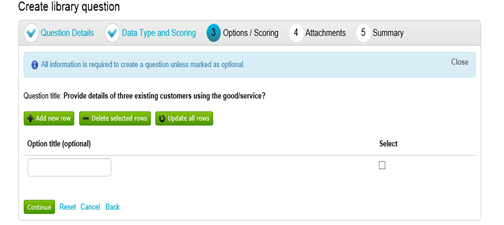
If the Data types; Checkbox, Option or Radio have been selected you can now enter the options relevant to the question. To add a new option click Add new row
When all the options have been added click Continue to move on to the next section, Attachments
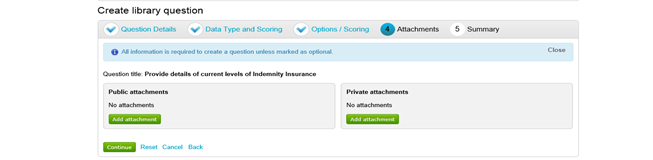
Click Add attachment, Browse and navigate to through your own files and folders, Select the document and click Upload.
Click Continue to move on to the next section, Summary
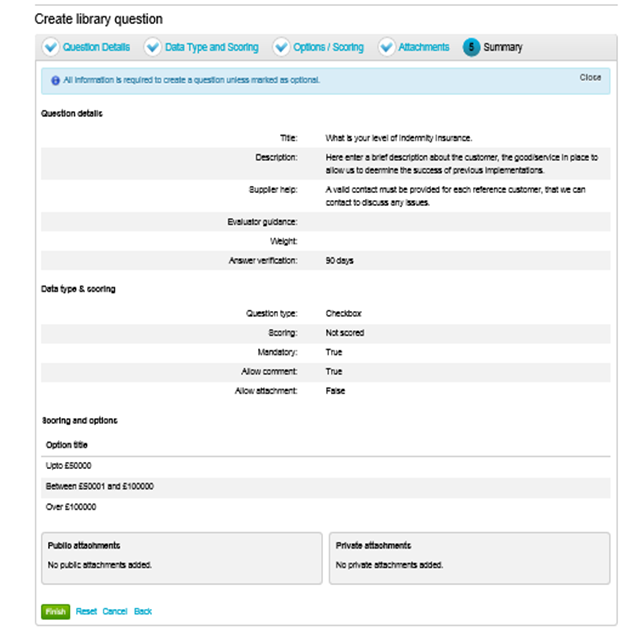
Click Finish to add the question to the Question Library.