How to Manage Evaluation Templates
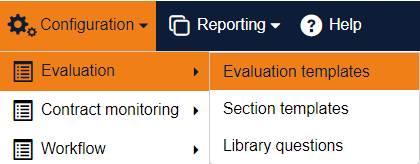
From the home page hover over the Configuration tab to display the functions accessible as Administrator only.
Click on the Evaluation templates header to open the Evaluation templates Section. Click on the relevant folder name to open it.

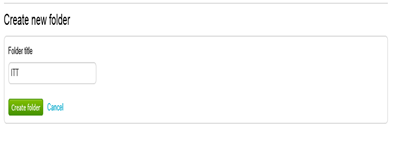
Here you can add new evaluation templates, built up of questions from the on-line question library or new questionnaire questions. Firstly click on + New Folder and give your new folder a title (if required).
Click on the relevant folder to open it. To create a new evaluation template within the folder, click on the pull down arrow in the Actions Box located on the left hand side of the screen. Select Create evaluation template and click Go.

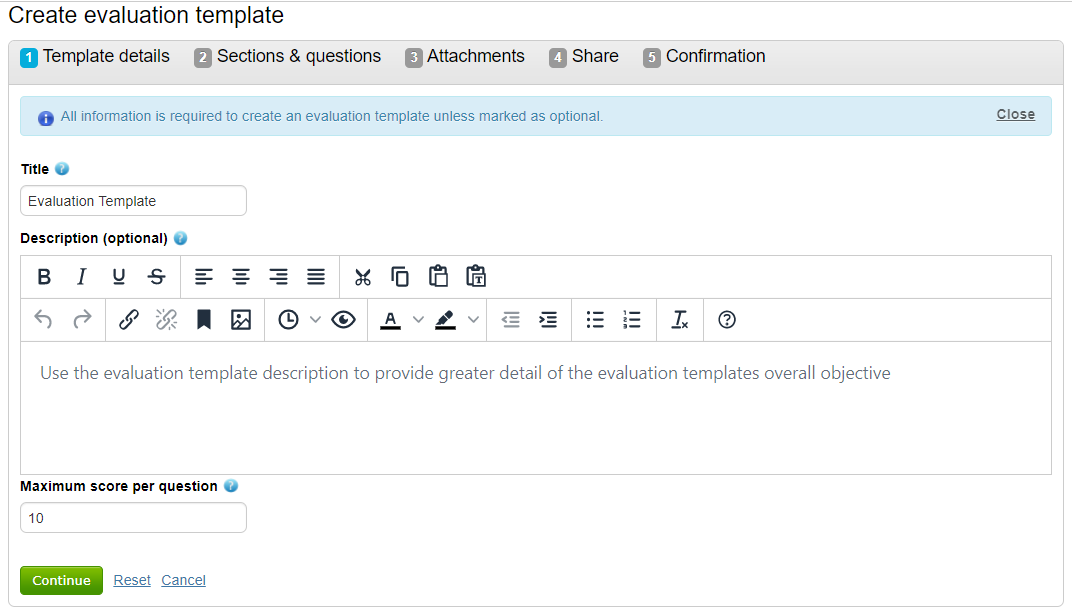
Complete each section and click Continue to move on to the next section; Sections & Questions.
To add anew section or section template to the questionnaire, select the relevant option from the Actions box.

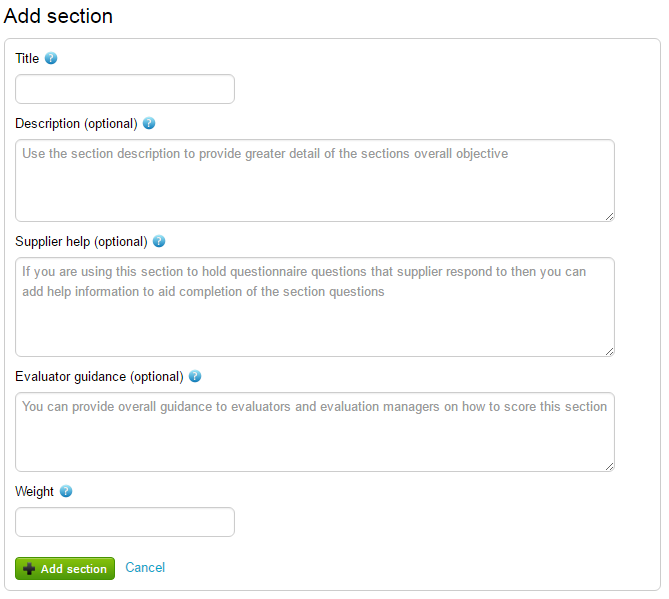
If selecting "Add section", complete the relevant fields and click +Add section.
To add further sections, sub-sections or questions, select the relevant existing section (using the radio dial next to it) and click on the Actions Box and select the relevant option.
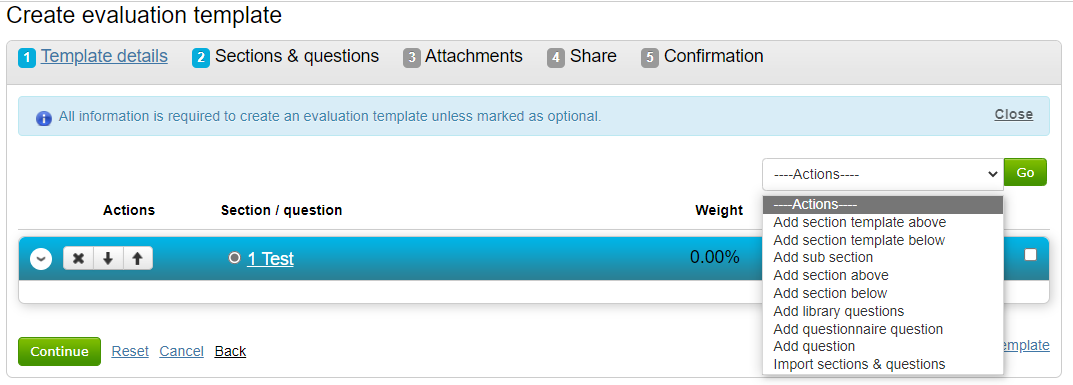
Select Add library question to navigate to the Online Library and select the relevant question(s), then click Return to wizard to add the questions to the Library. Alternatively you can Click Add questionnaire question to start the Create questionnaire question wizard which will guide you through adding a new question to this template only [see How to manage Library Questions].
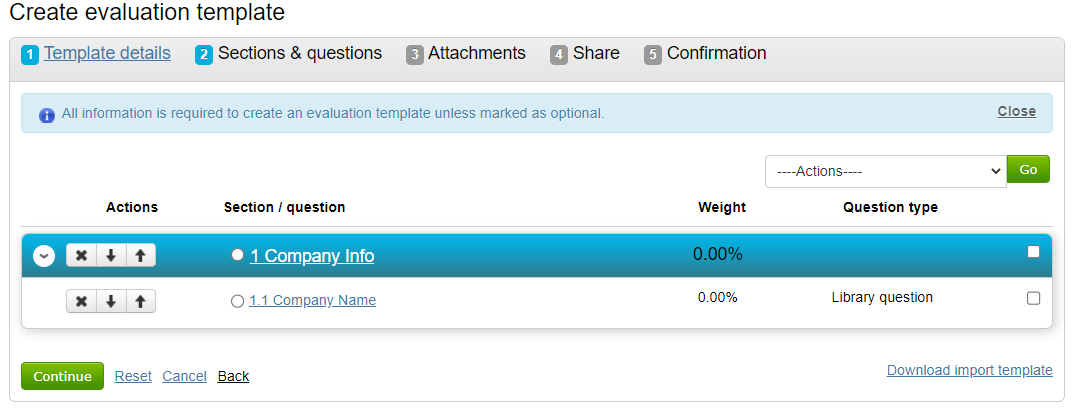
The arrows on the left hand side of the screen allow you to reorder/delete the sections/questions. Click Continue when all questions are added.
Continue adding/creating until your template is complete, then click Continue. (Note: The questionnaire will only be saved once you get to the end of the wizard and click 'Finish'. It may be advisable to continue through to the end of wizard at your earliest convenience so it is saved, after which the questionnaire can be opened again and amended ad-hoc as necessary, with saves happening automatically.)
If required Add attachments by clicking on Add attachment and navigate your own files and folders to locate and attach your documents.

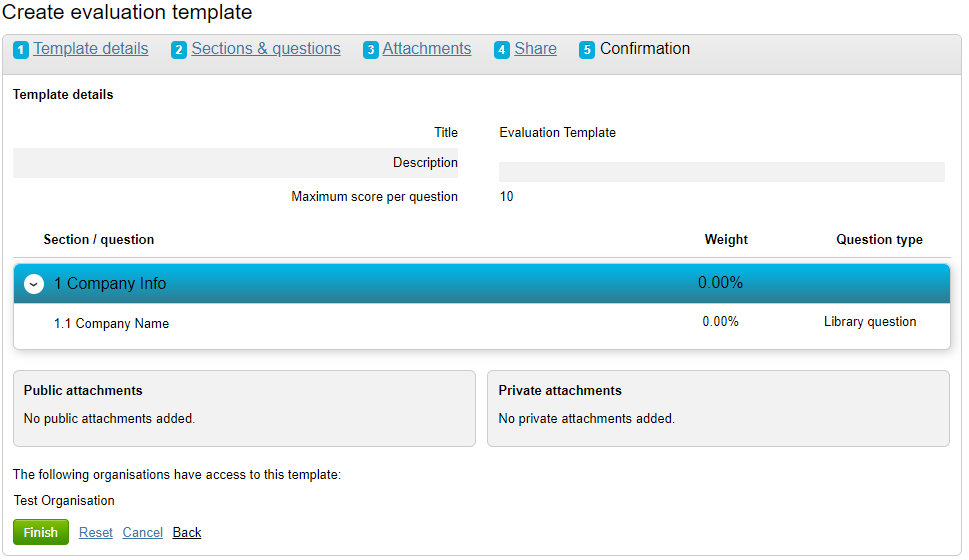
The Share section allows you to share your template with other organisation on the portal (if applicable). Click Continue to the Confirmation page giving you a summary screen of the new template and the questions it contains. Click Finish.
